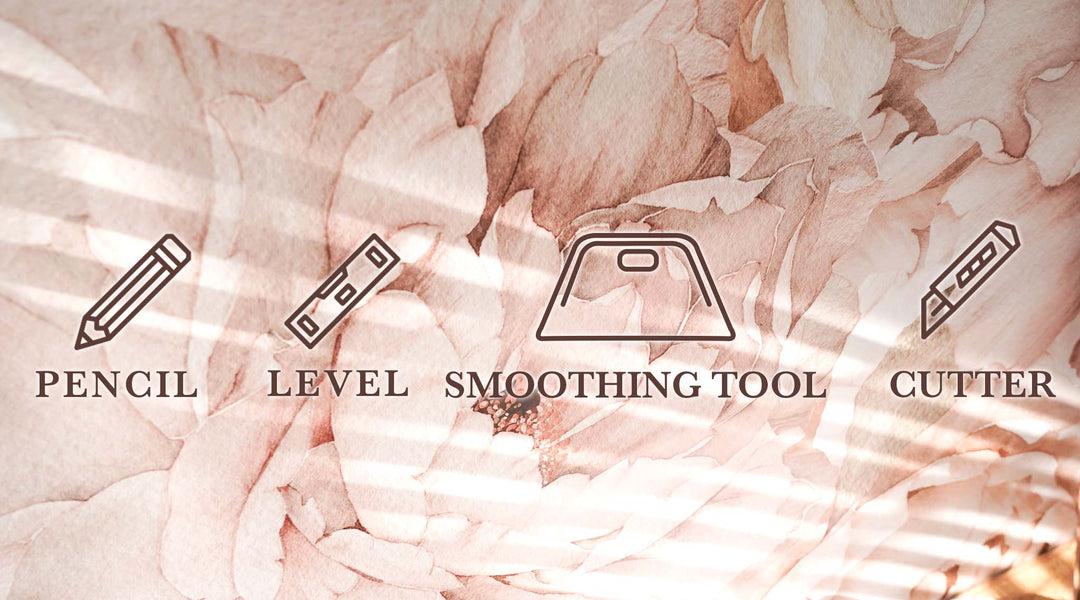
WALLPAPER TOOLS
Pencil
Level
Smoothing Tool
Cutter

The wall needs to be painted, clean, dry, and in good conditions. Avoid installing on cracking paint, walls with mold, grease, or stains.
Hanging wallpaper is a two people project. For best results start and finish installation in a single session, don’t leave the project unfinished for the next day. Reserve 1 hour per panel to install. Paper shrinks as it dries, completing the task in a single session will ensure a seamless match of your pattern.

We recommend using paint finishes like Sateen or Gloss. Matte or Flat finishes are more rough so paints tend to lift off the wall when wallpaper is removed.
Apply wallpaper to a surface that is a solid, light color as this wallpaper is 97% opaque, strong dark colors on your wall will show though.
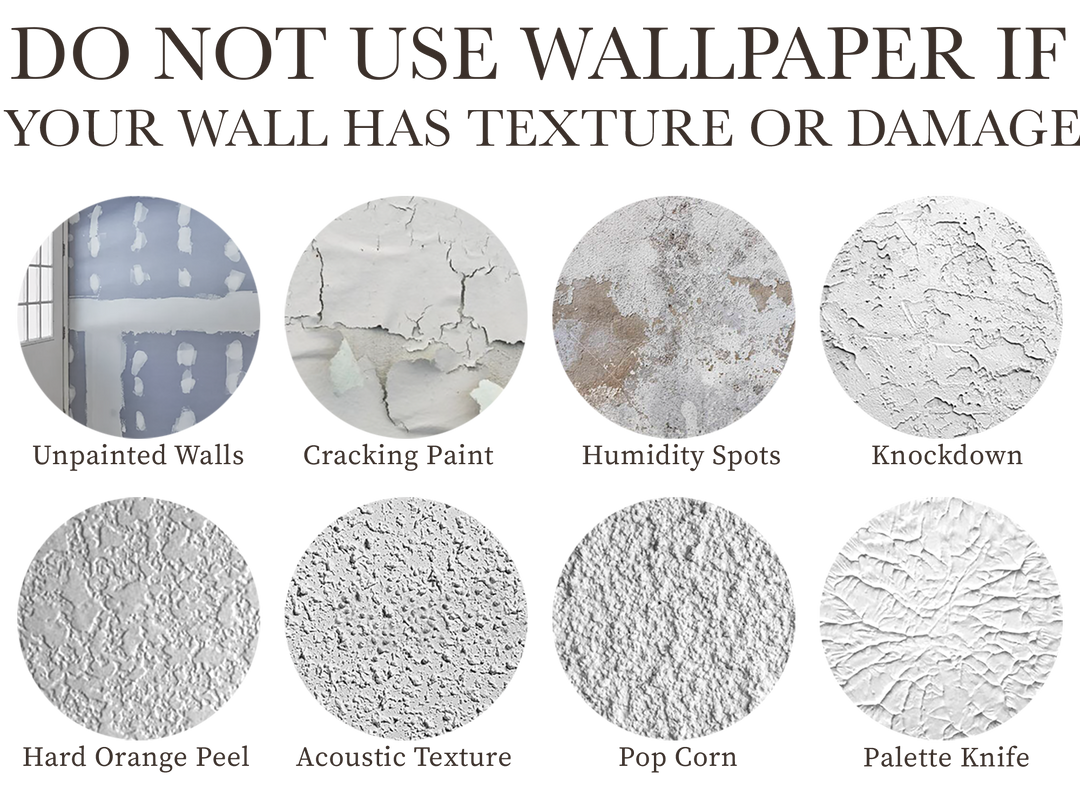
Got Textured walls?
PRE-PASTED wallpapers are NOT RECOMMENDED on textured or damaged walls. A textured wall is any wall that is not perfectly and totally smooth and without imperfections. Decorative wall finishings with the presence of irregularities on the surface of the wall is considered texture.
BEFORE YOU START
- Unpack and check your order upon receiving it, even if you won’t install it right away.
- Check color consistency and panel match or pattern repeat throughout your order always before installing.
- Never install a wallpaper if you think there is a defect in your order. Contact us first.
- Start from left to right when possible.
- Murals: install in numerical roll sequence starting with the lowest number (1) in left to right orientation.
Video: How to Install traditional pre-pasted wallpaper
Step By Step
STEP 1:
Draw Guide Lines: Beginning on the left side of your wall, measure out from the corner the width of the wallpaper and draw a mark.
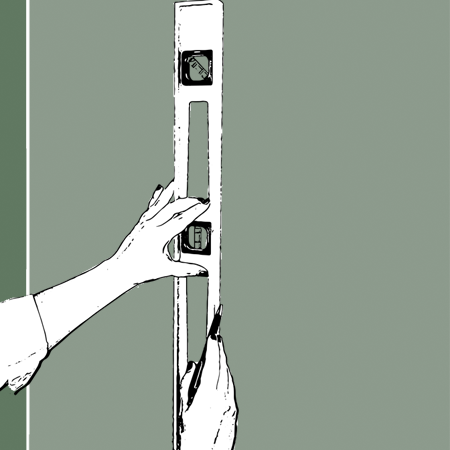
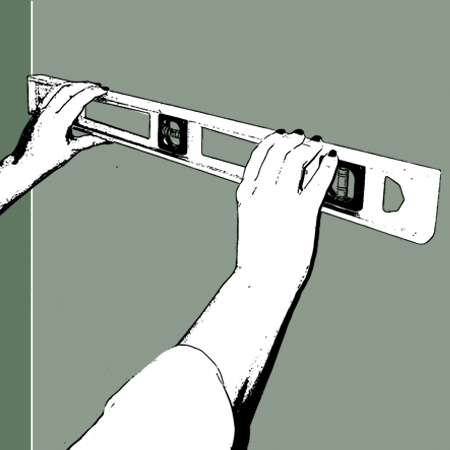
STEP 2:
From the mark draw a vertical line ceiling to floor. This is the Guide Line for your first strip. Never align a wallpaper to a corner or ceiling since might be uneven.
STEP 3:
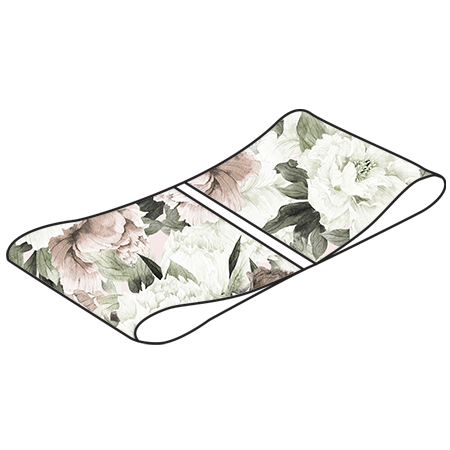
Thoroughly wet the back of the paper, making sure not to leave any dry spots. Once it's wet, gently fold the pasted side in on itself meeting bottom and top side in the middle, take care not to crease the paper. Let it rest aside for 3-5 minutes to activate the adhesive.
STEP 4:
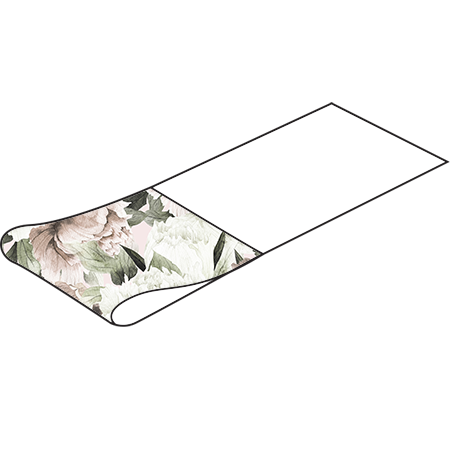
Pick up your first strip and unfold just the top half of the paper, leaving the bottom still folded. This will avoid the bottom part to dry before installation.

STEP 5:
Apply the fist panel to the top of the wall, allow a bit of excess to overlap the ceiling. Check the panel is aligned to the Guide Line. Once the top half is in position, unfold the bottom half of the panel and smooth downward with a damp cloth.
STEP 6:
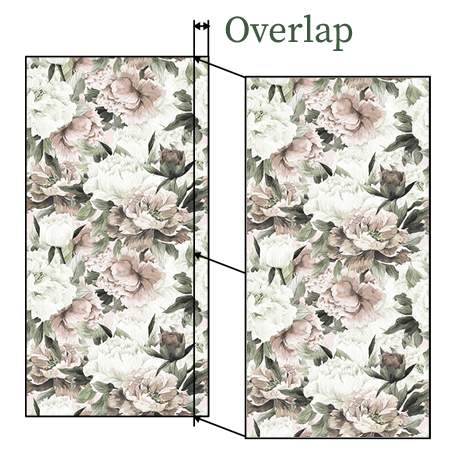
Select your next panel and apply it so that its left side overlaps 1 inch the edge of the previous panel. Using the same procedure apply more panels. The Overlap does not need of further trimming, but it can be removed if desired.

TRIM
Double cuts in the Overlap area will be performed with the material still wet using a straight knife with a fresh blade tip.
Wait until the paper is completely dry to trim all excess and remnants around the ceiling and baseboard.

CARE
Allow the surface to dry to the touch and wipe off any excess adhesive using a damp cloth or sponge.
Our Wallpapers are washable, to clean them you can use a wet sponge, kitchen towel or damp cloth. Don’t use abrasive cleaners & don’t scrub the paper.

REMOVAL
Spray the surface with water to allow paste adhesive to relax for easier removal. Start from top to bottom, drawing the product back on itself at a 180˚ degree angle.
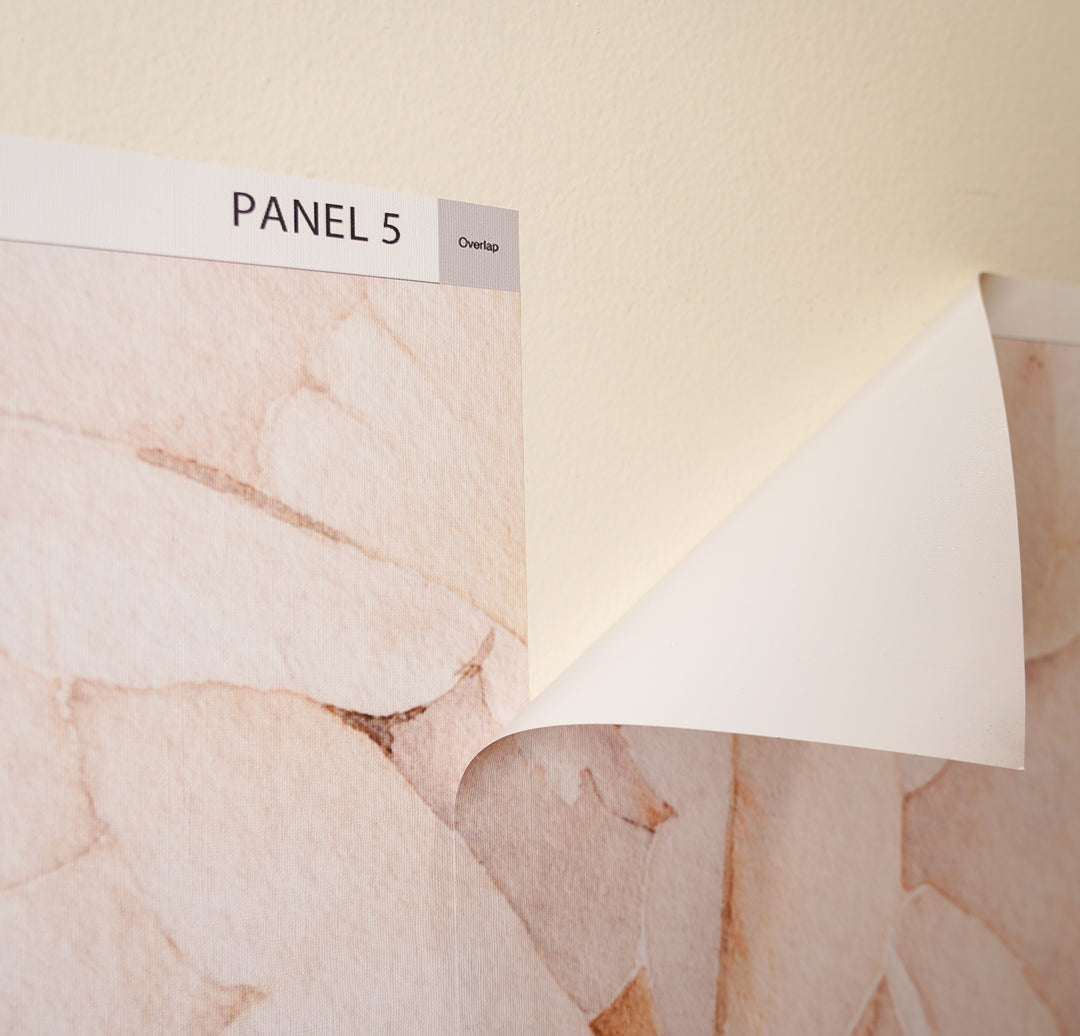
Overlap
All our orders are produced with a Overlap to ensure the quality of our wallpapers.
The "Overlap" sign you see at the top of each one of your panels means the edges need to be superposed for 1 full inch one on top of the other. You will place the next panel 1 full inch over the previous one.
Removal of the overlap is optional and in many cases not recommended. Double cuts in the Overlap area will be performed with the material still wet using a straight knife with a fresh blade tip.
How to remove the Overlap
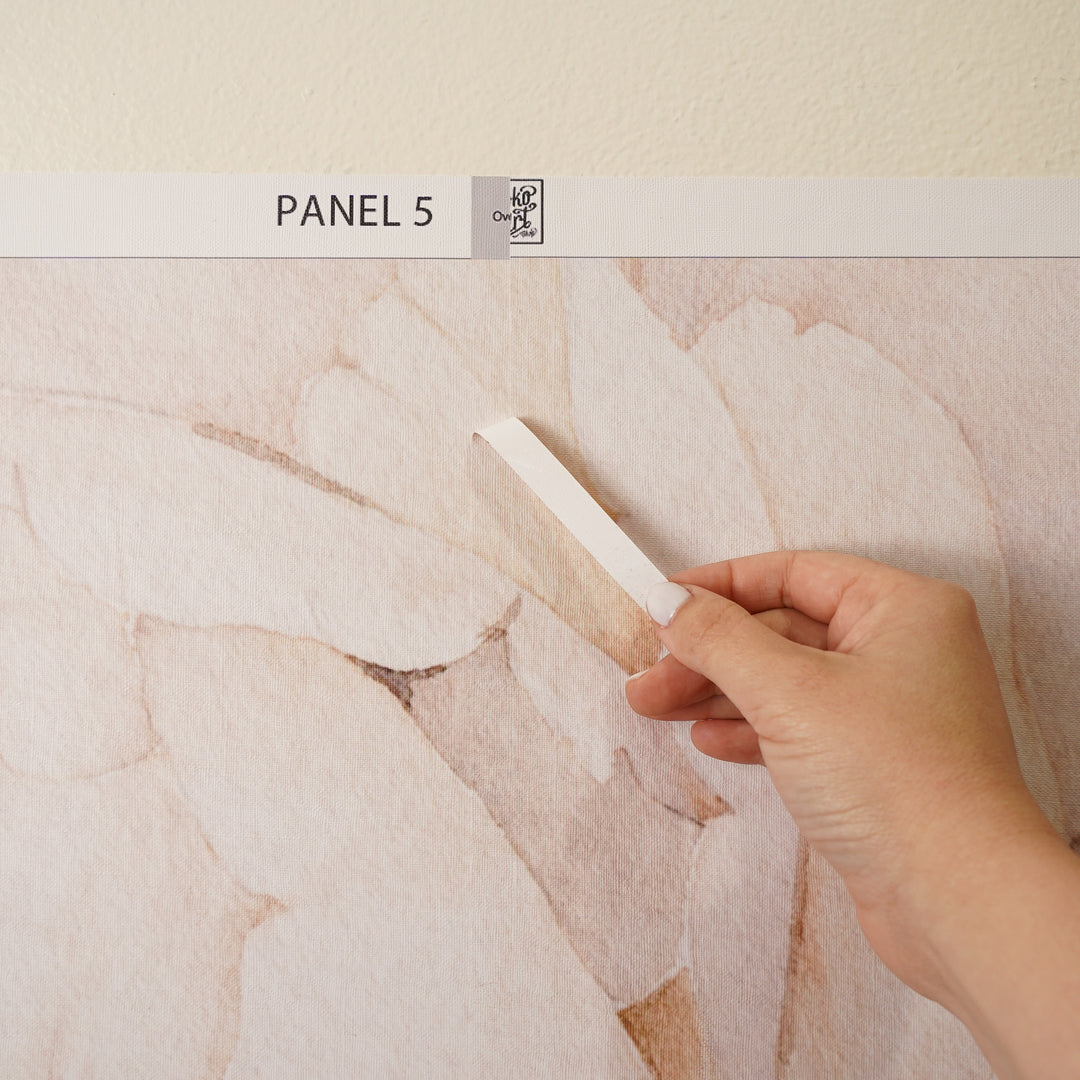
Step 1:
Locate the center of your Overlap and cut with a sharp knife top to bottom throughout both layers of wallpaper, then remove the remnant on the left.
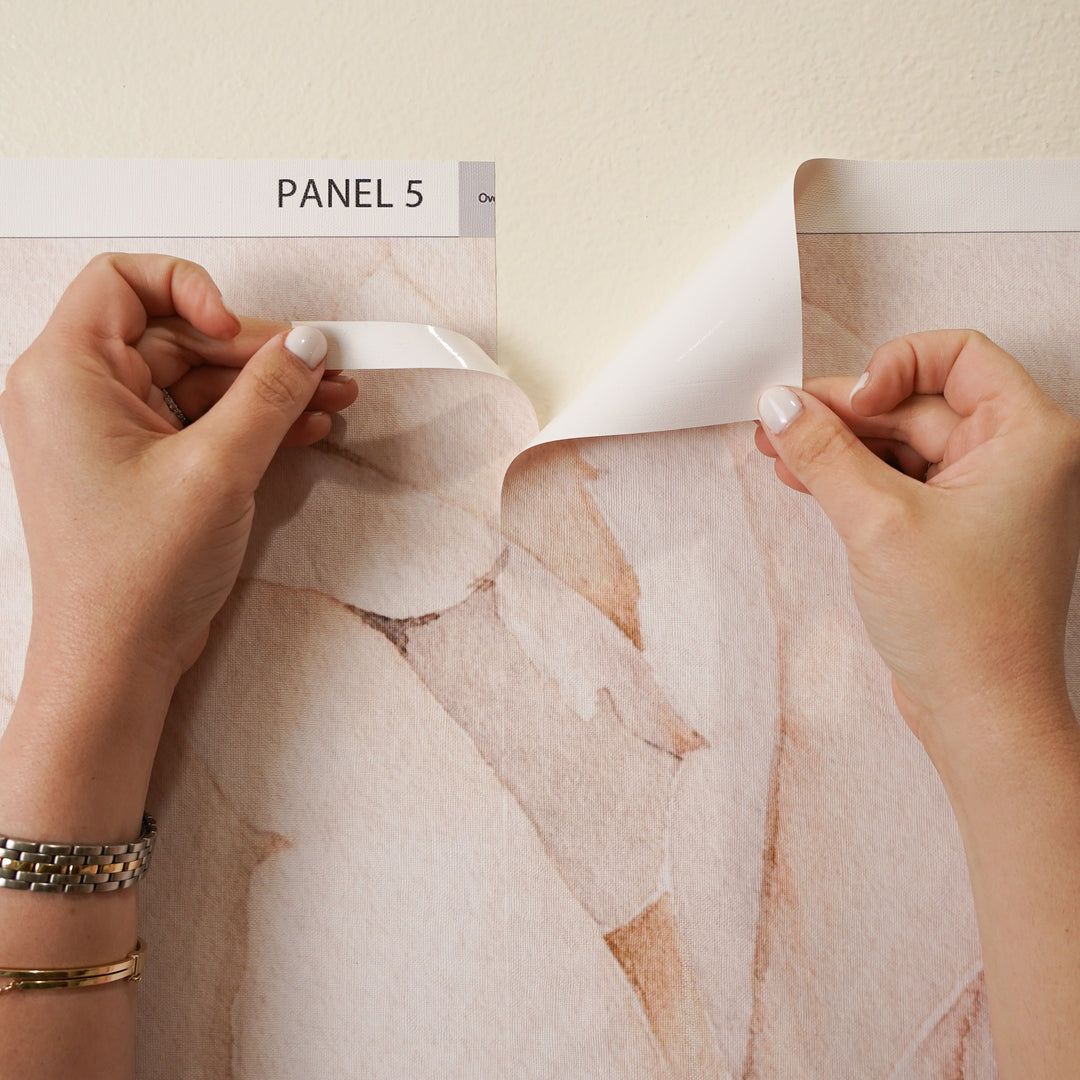
Step 2:
Lift the edge of the panel to the right exposing the remaining Overlap, pull out the remnant on the right.
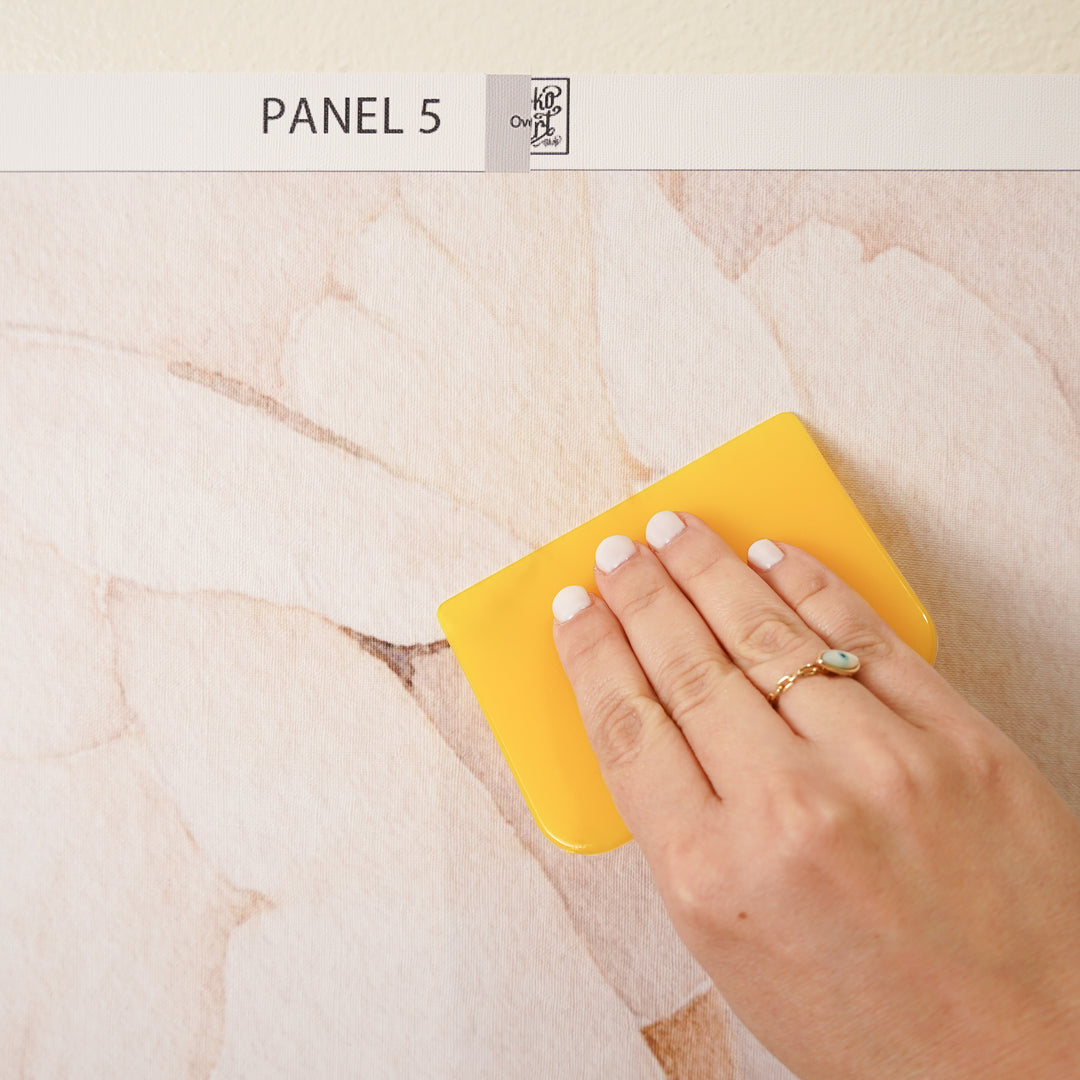
Step 3
Once removed half of the Overlap on each side, paste the edge lifted into place. And done!